Controls Steering BridgeUpdated 5 months ago
Required Tools:
- Allen key 2.5 mm
- Allen key 3 mm
- Allen key 5 mm
- Scissors
- Insulating tape or shrink tubing
- Hot air dryer or lighter
The wiring of the steering bridge is hidden behind the front light. To access it, first remove the front light by loosening the retaining screw located behind the light.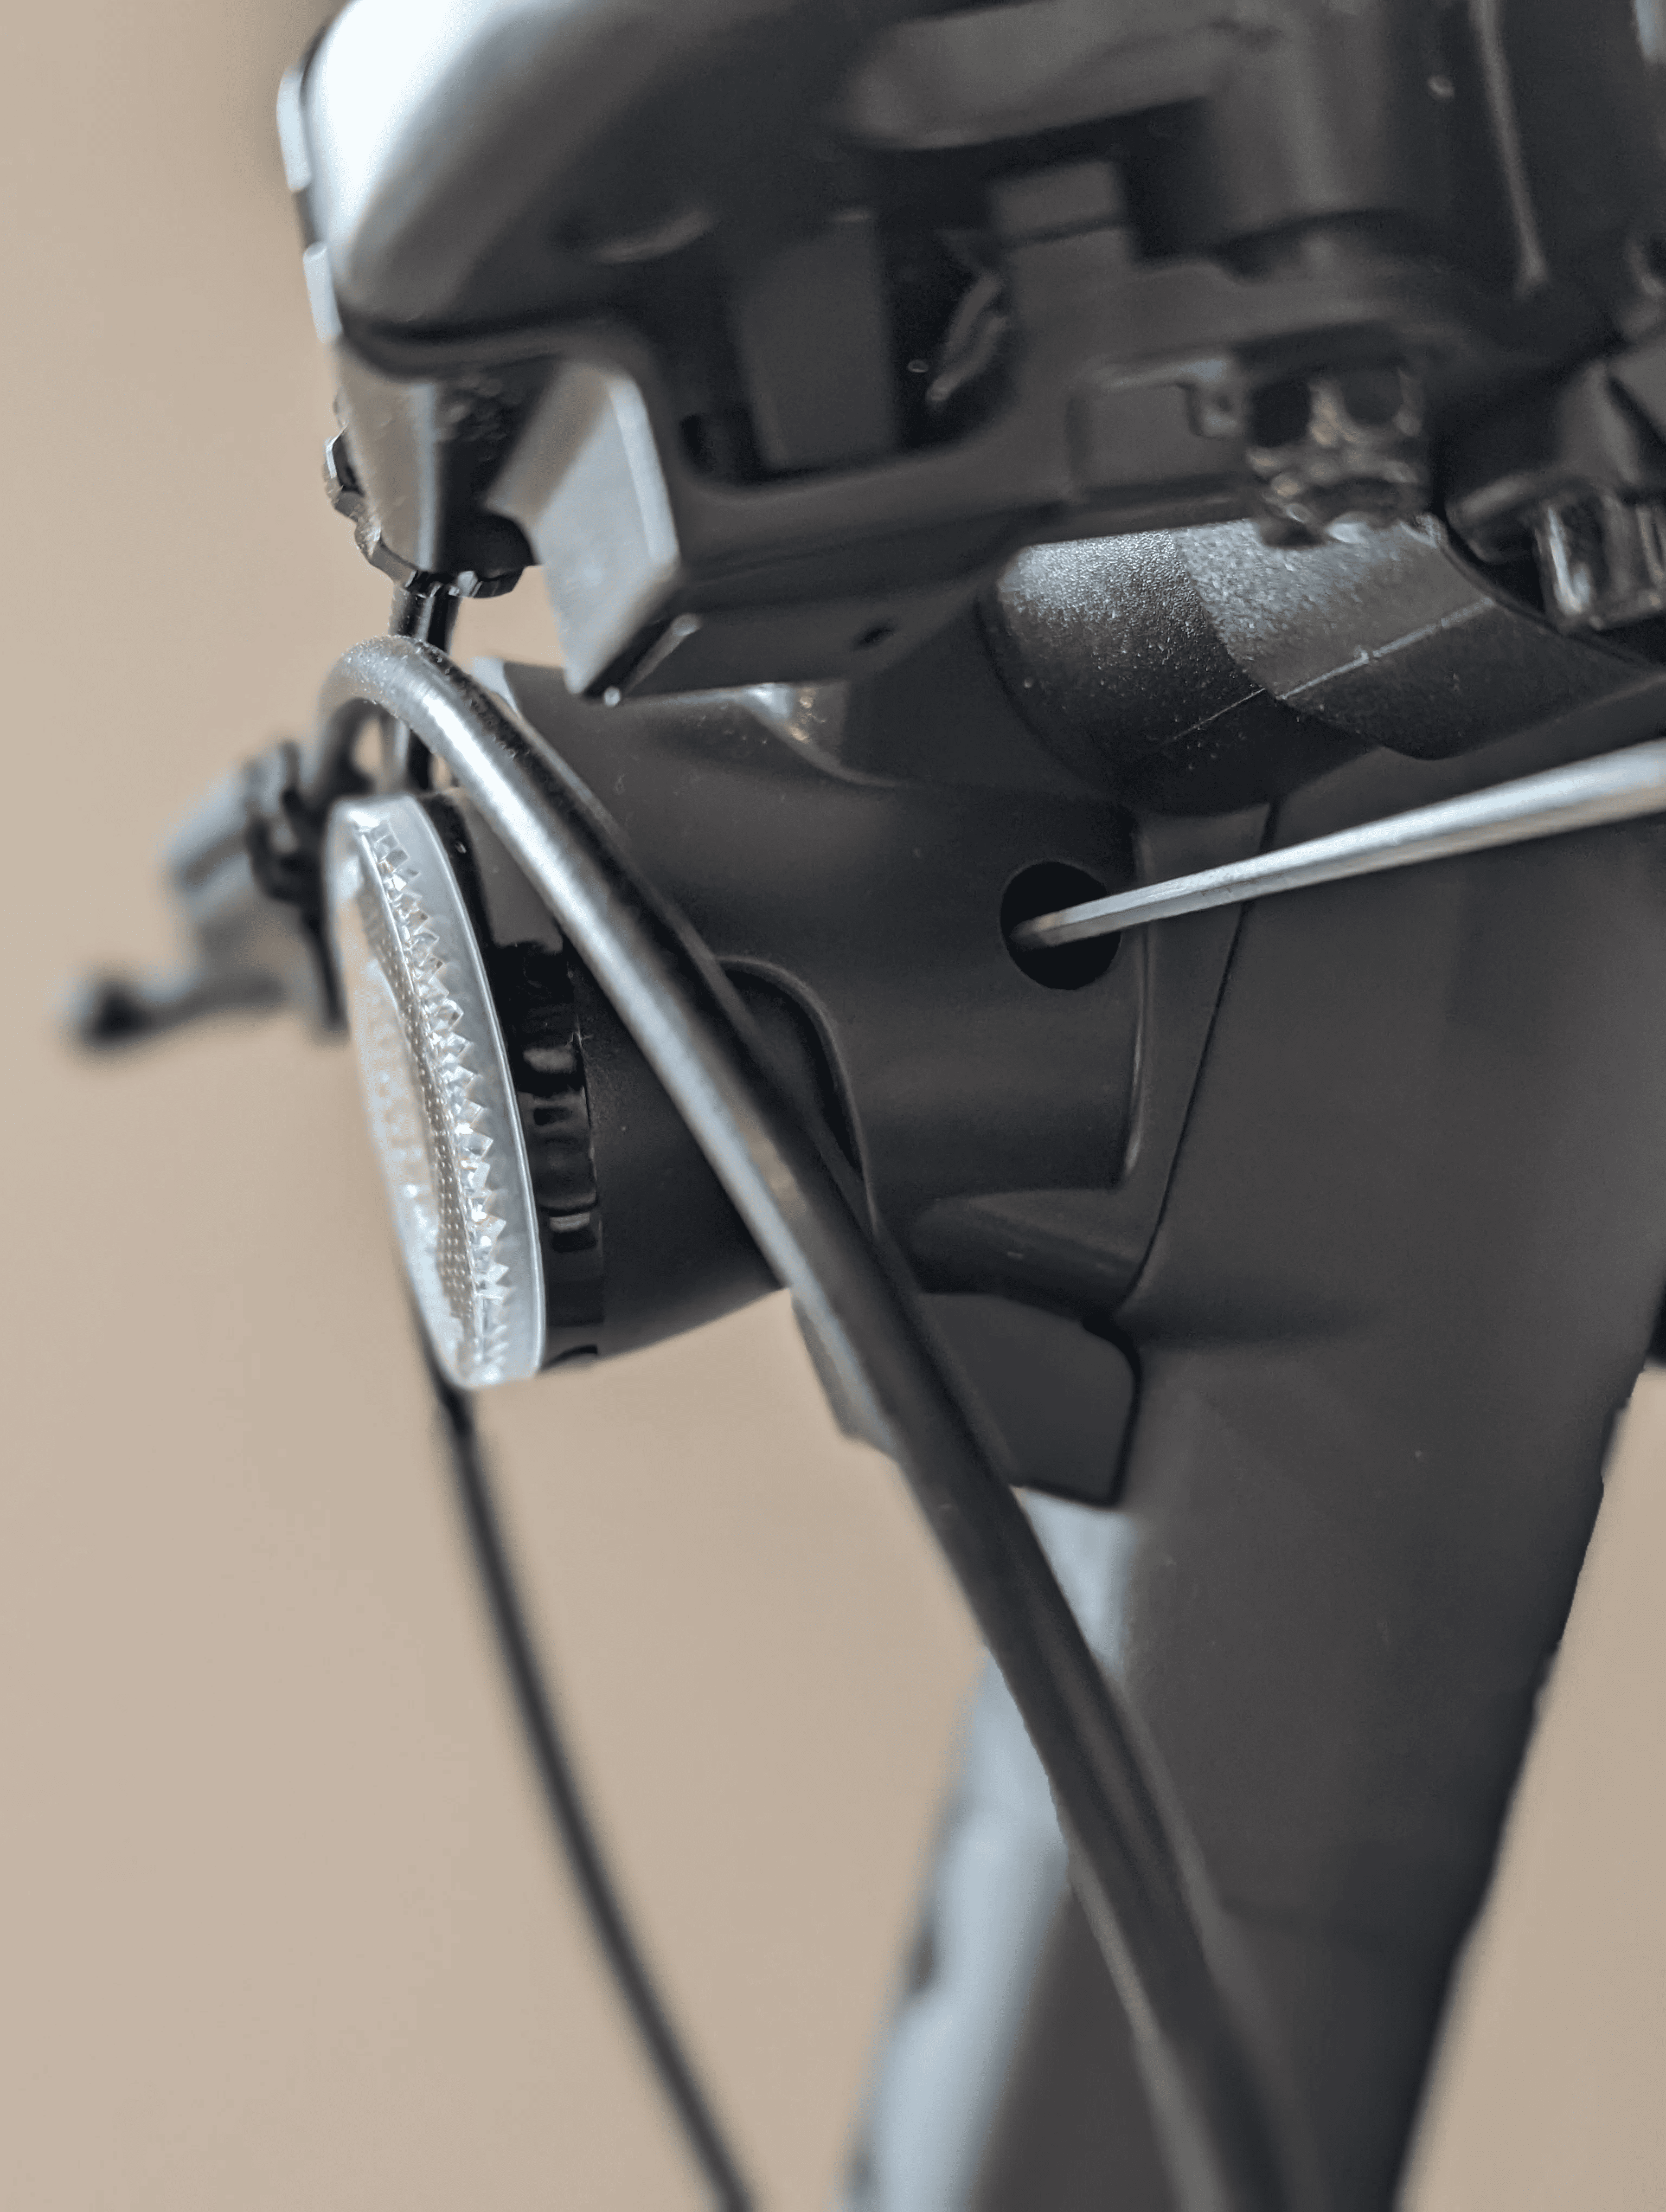 You will see two screws holding the light cover in place. Loosen and remove these screws as well.
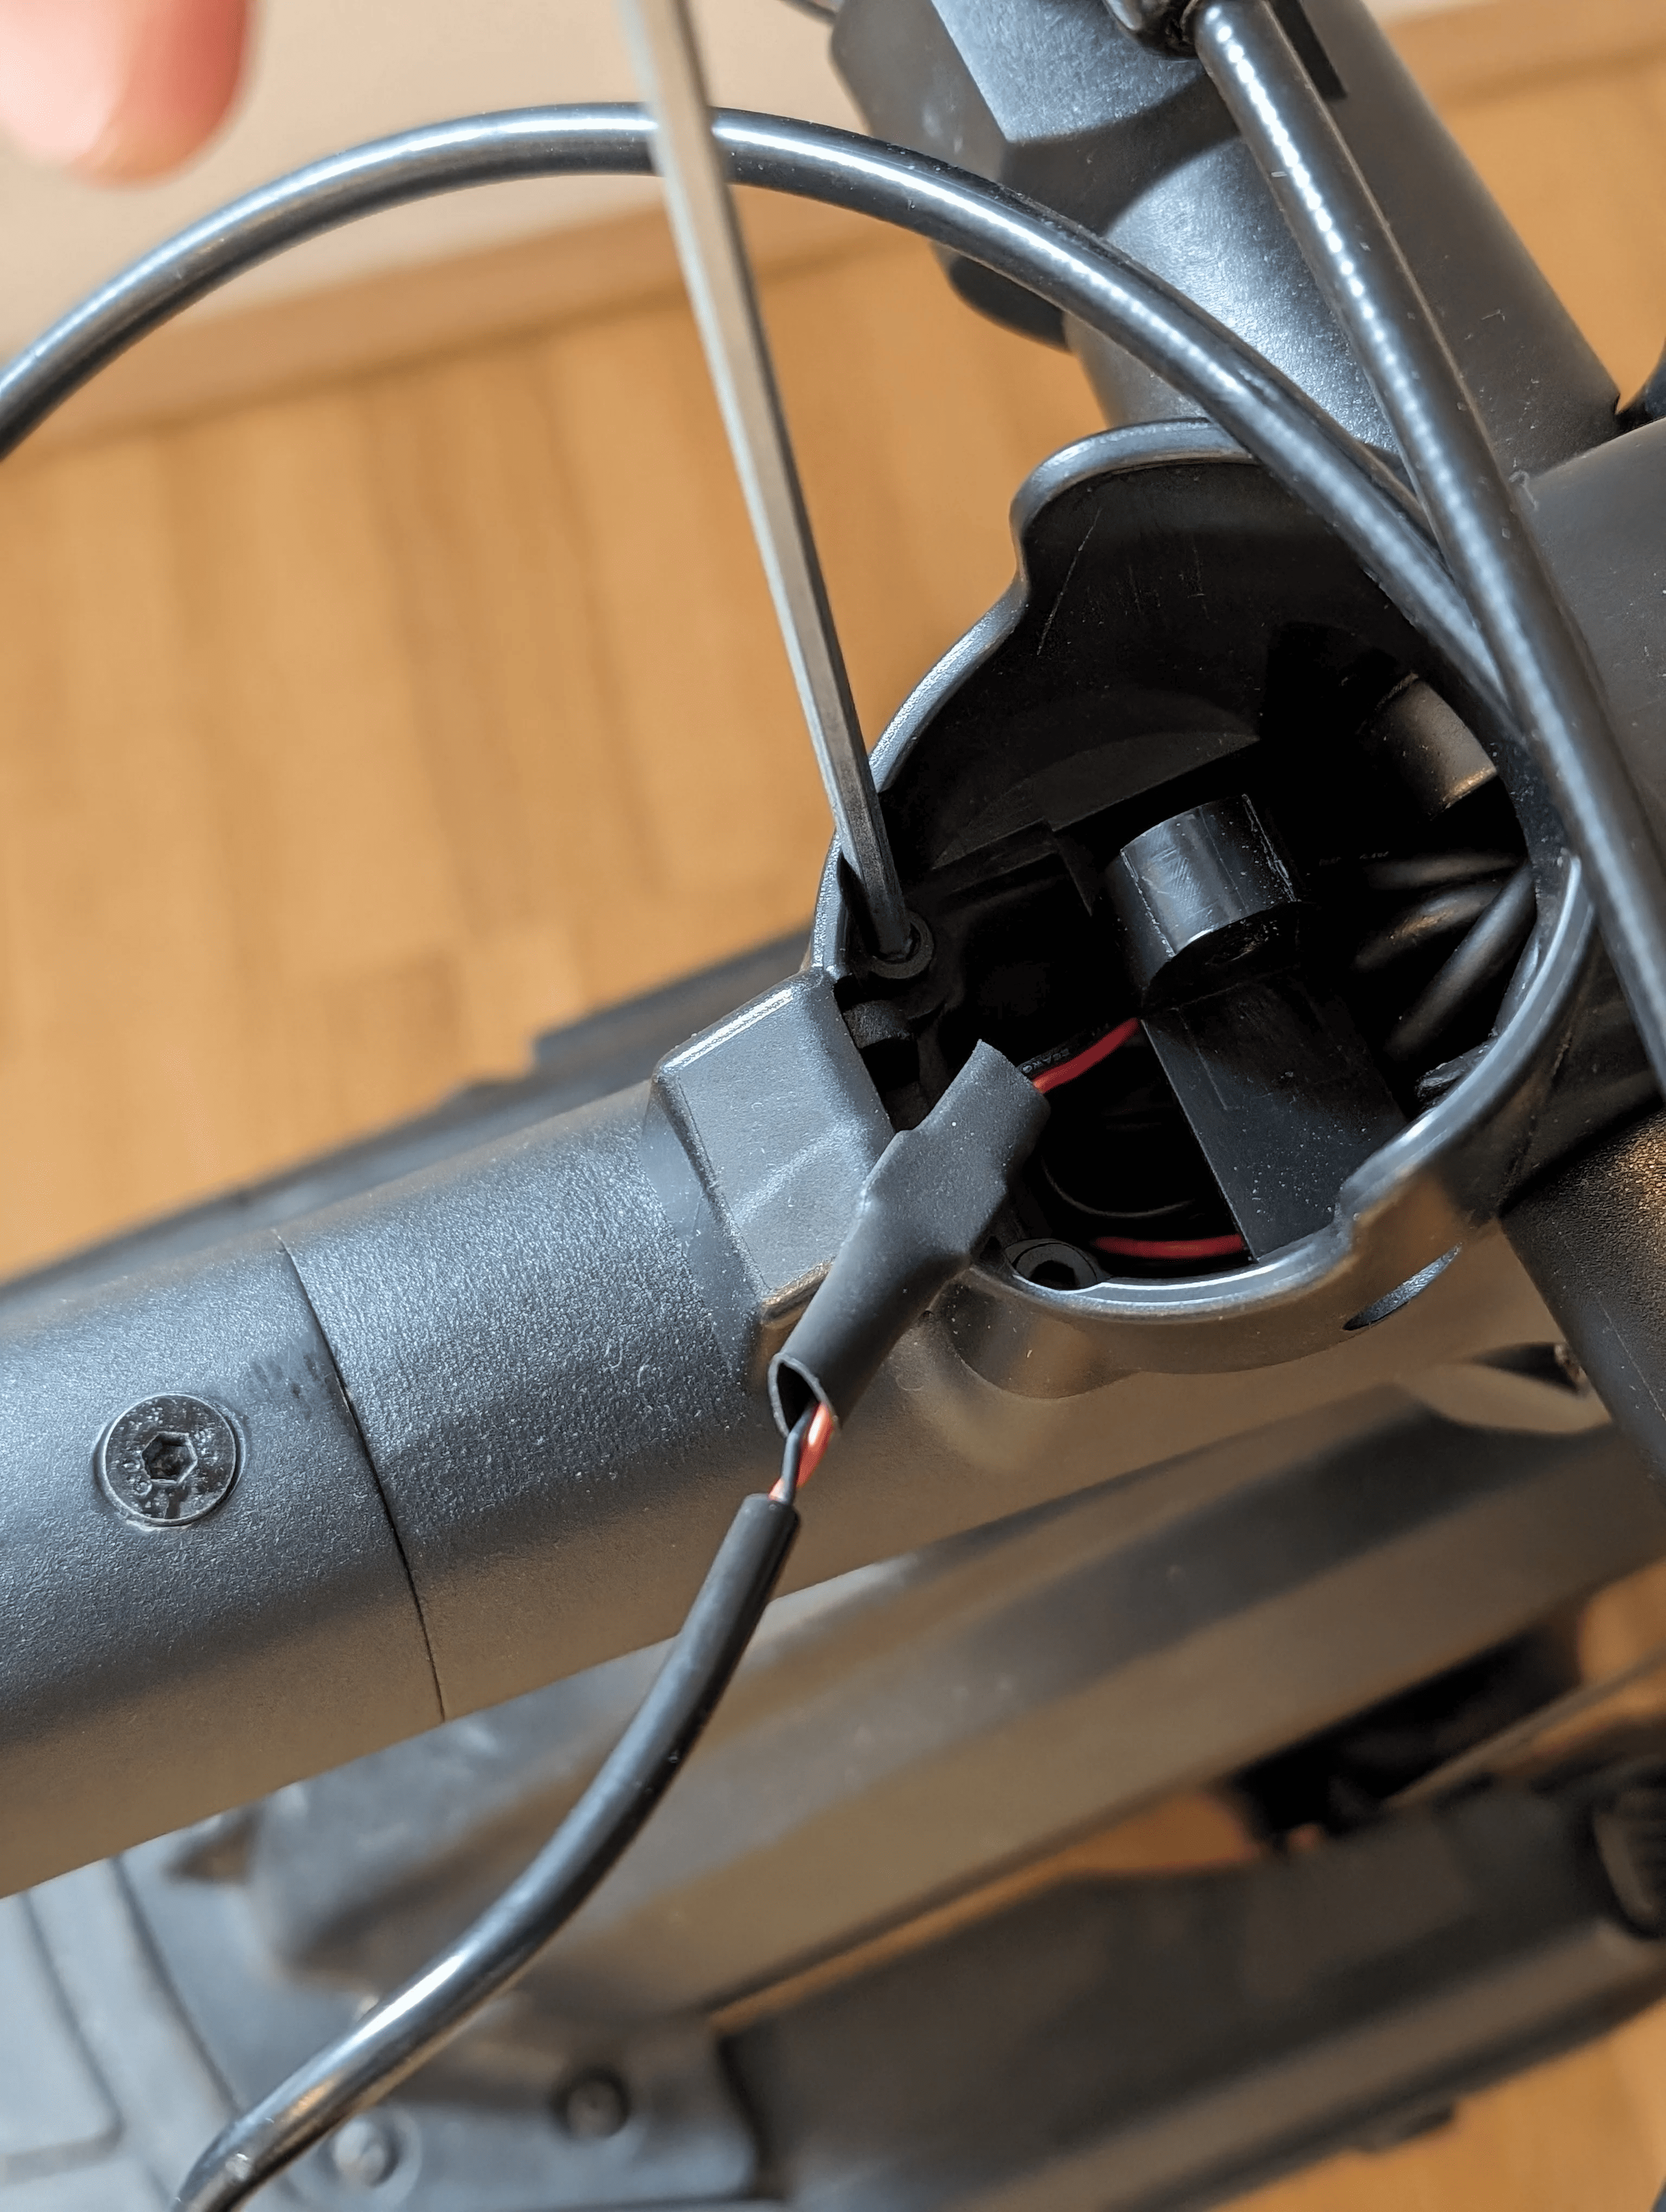 Next, loosen the handlebar clamp, which is secured to the handlebar head with four Allen screws.
 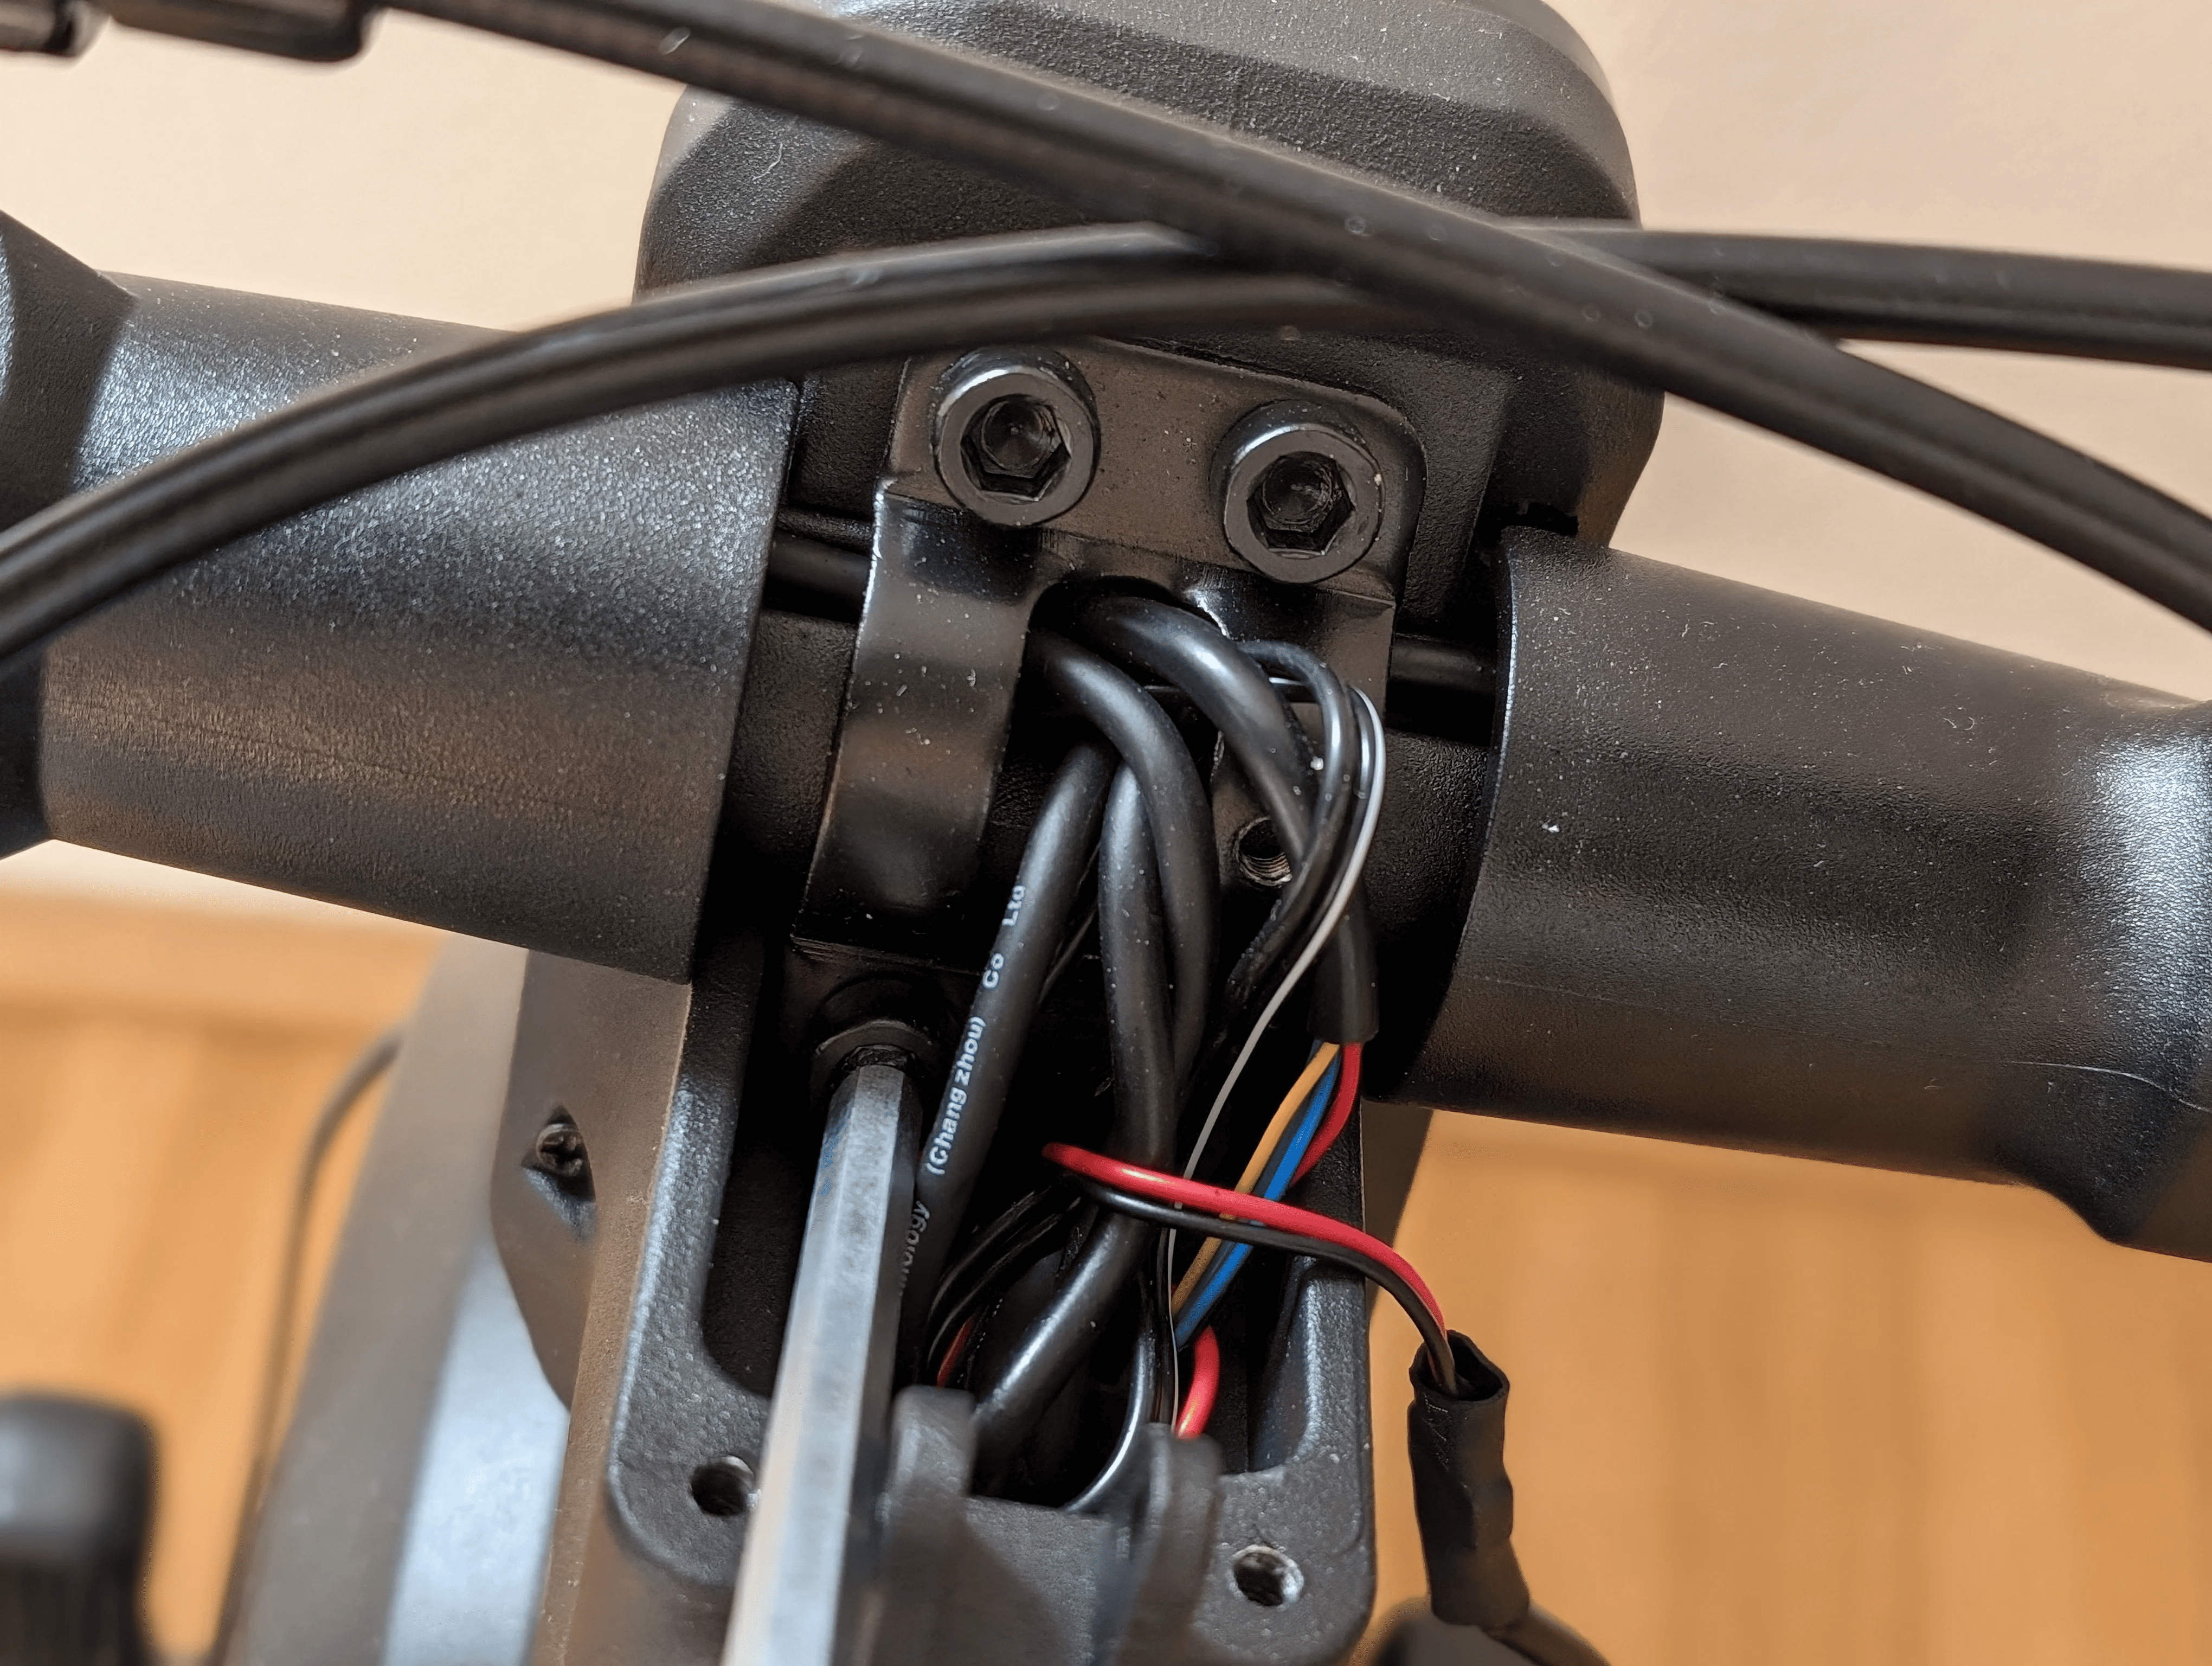 Depending on the control element you wish to change, you may need to remove all components on the corresponding side of the scooter to route the cables inside the handlebar. Loosen the clamp screws and the screw under the indicator as needed.
Attaching the indicator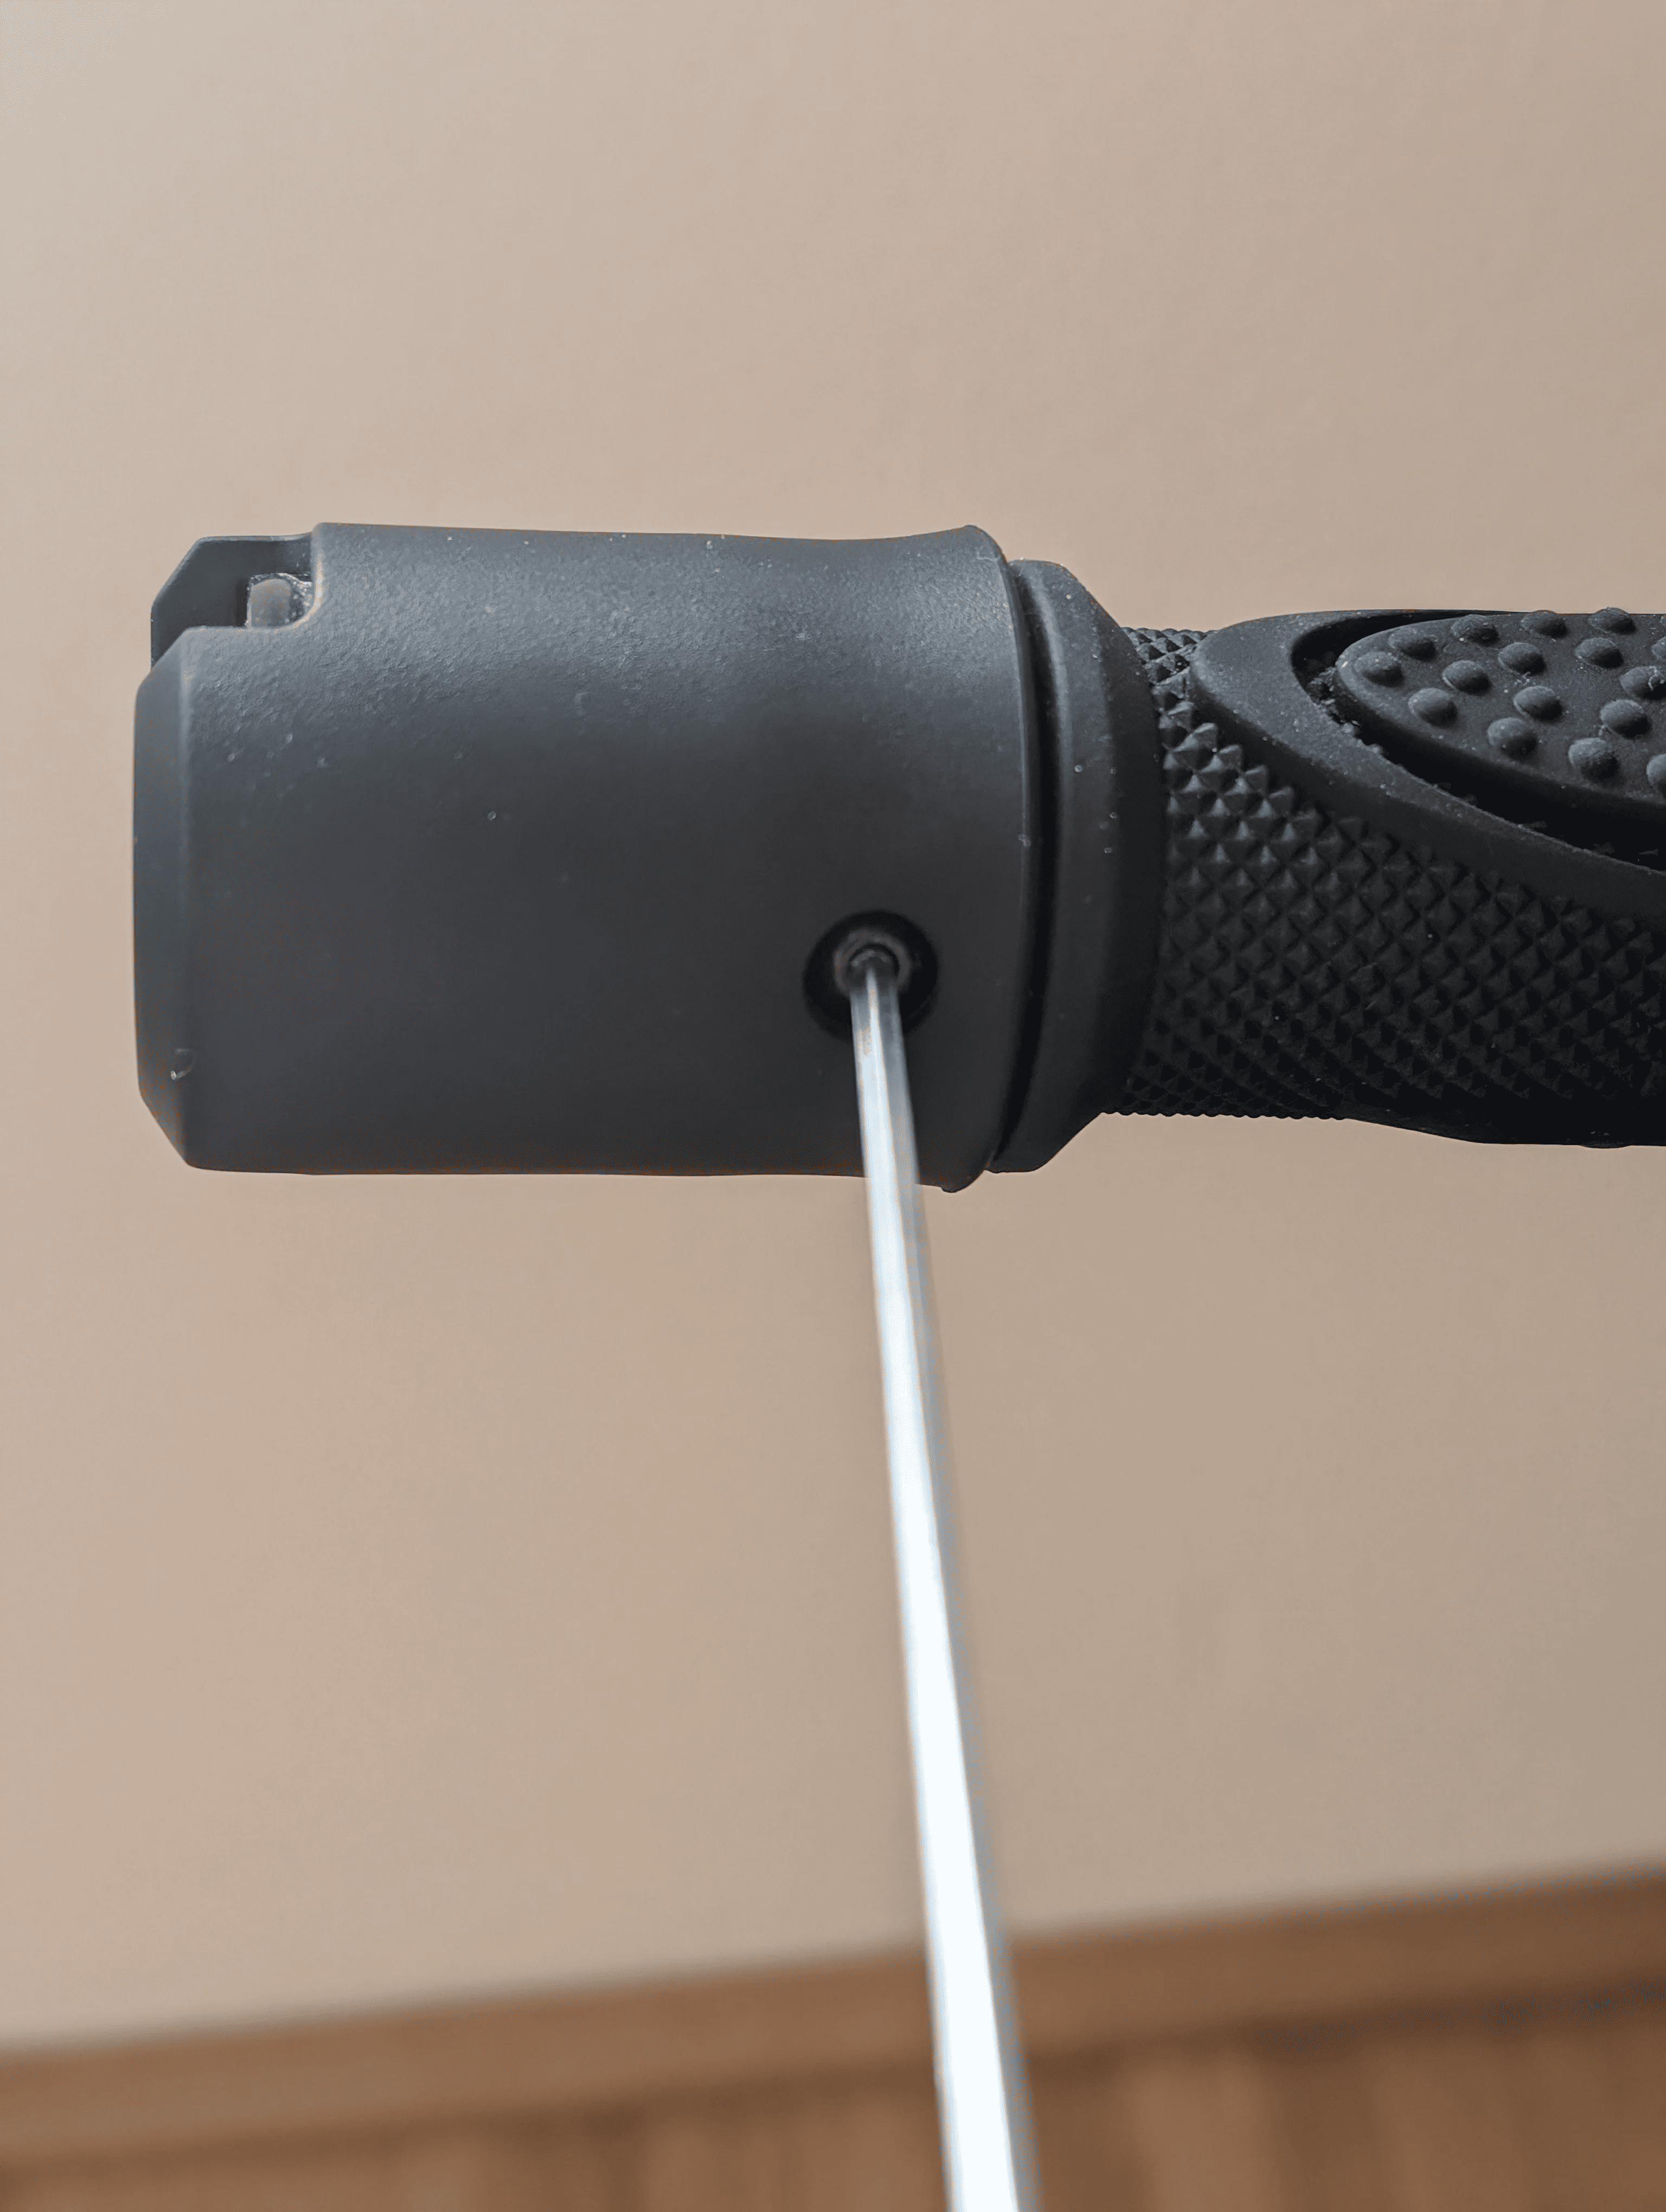
Attaching the thumb throttle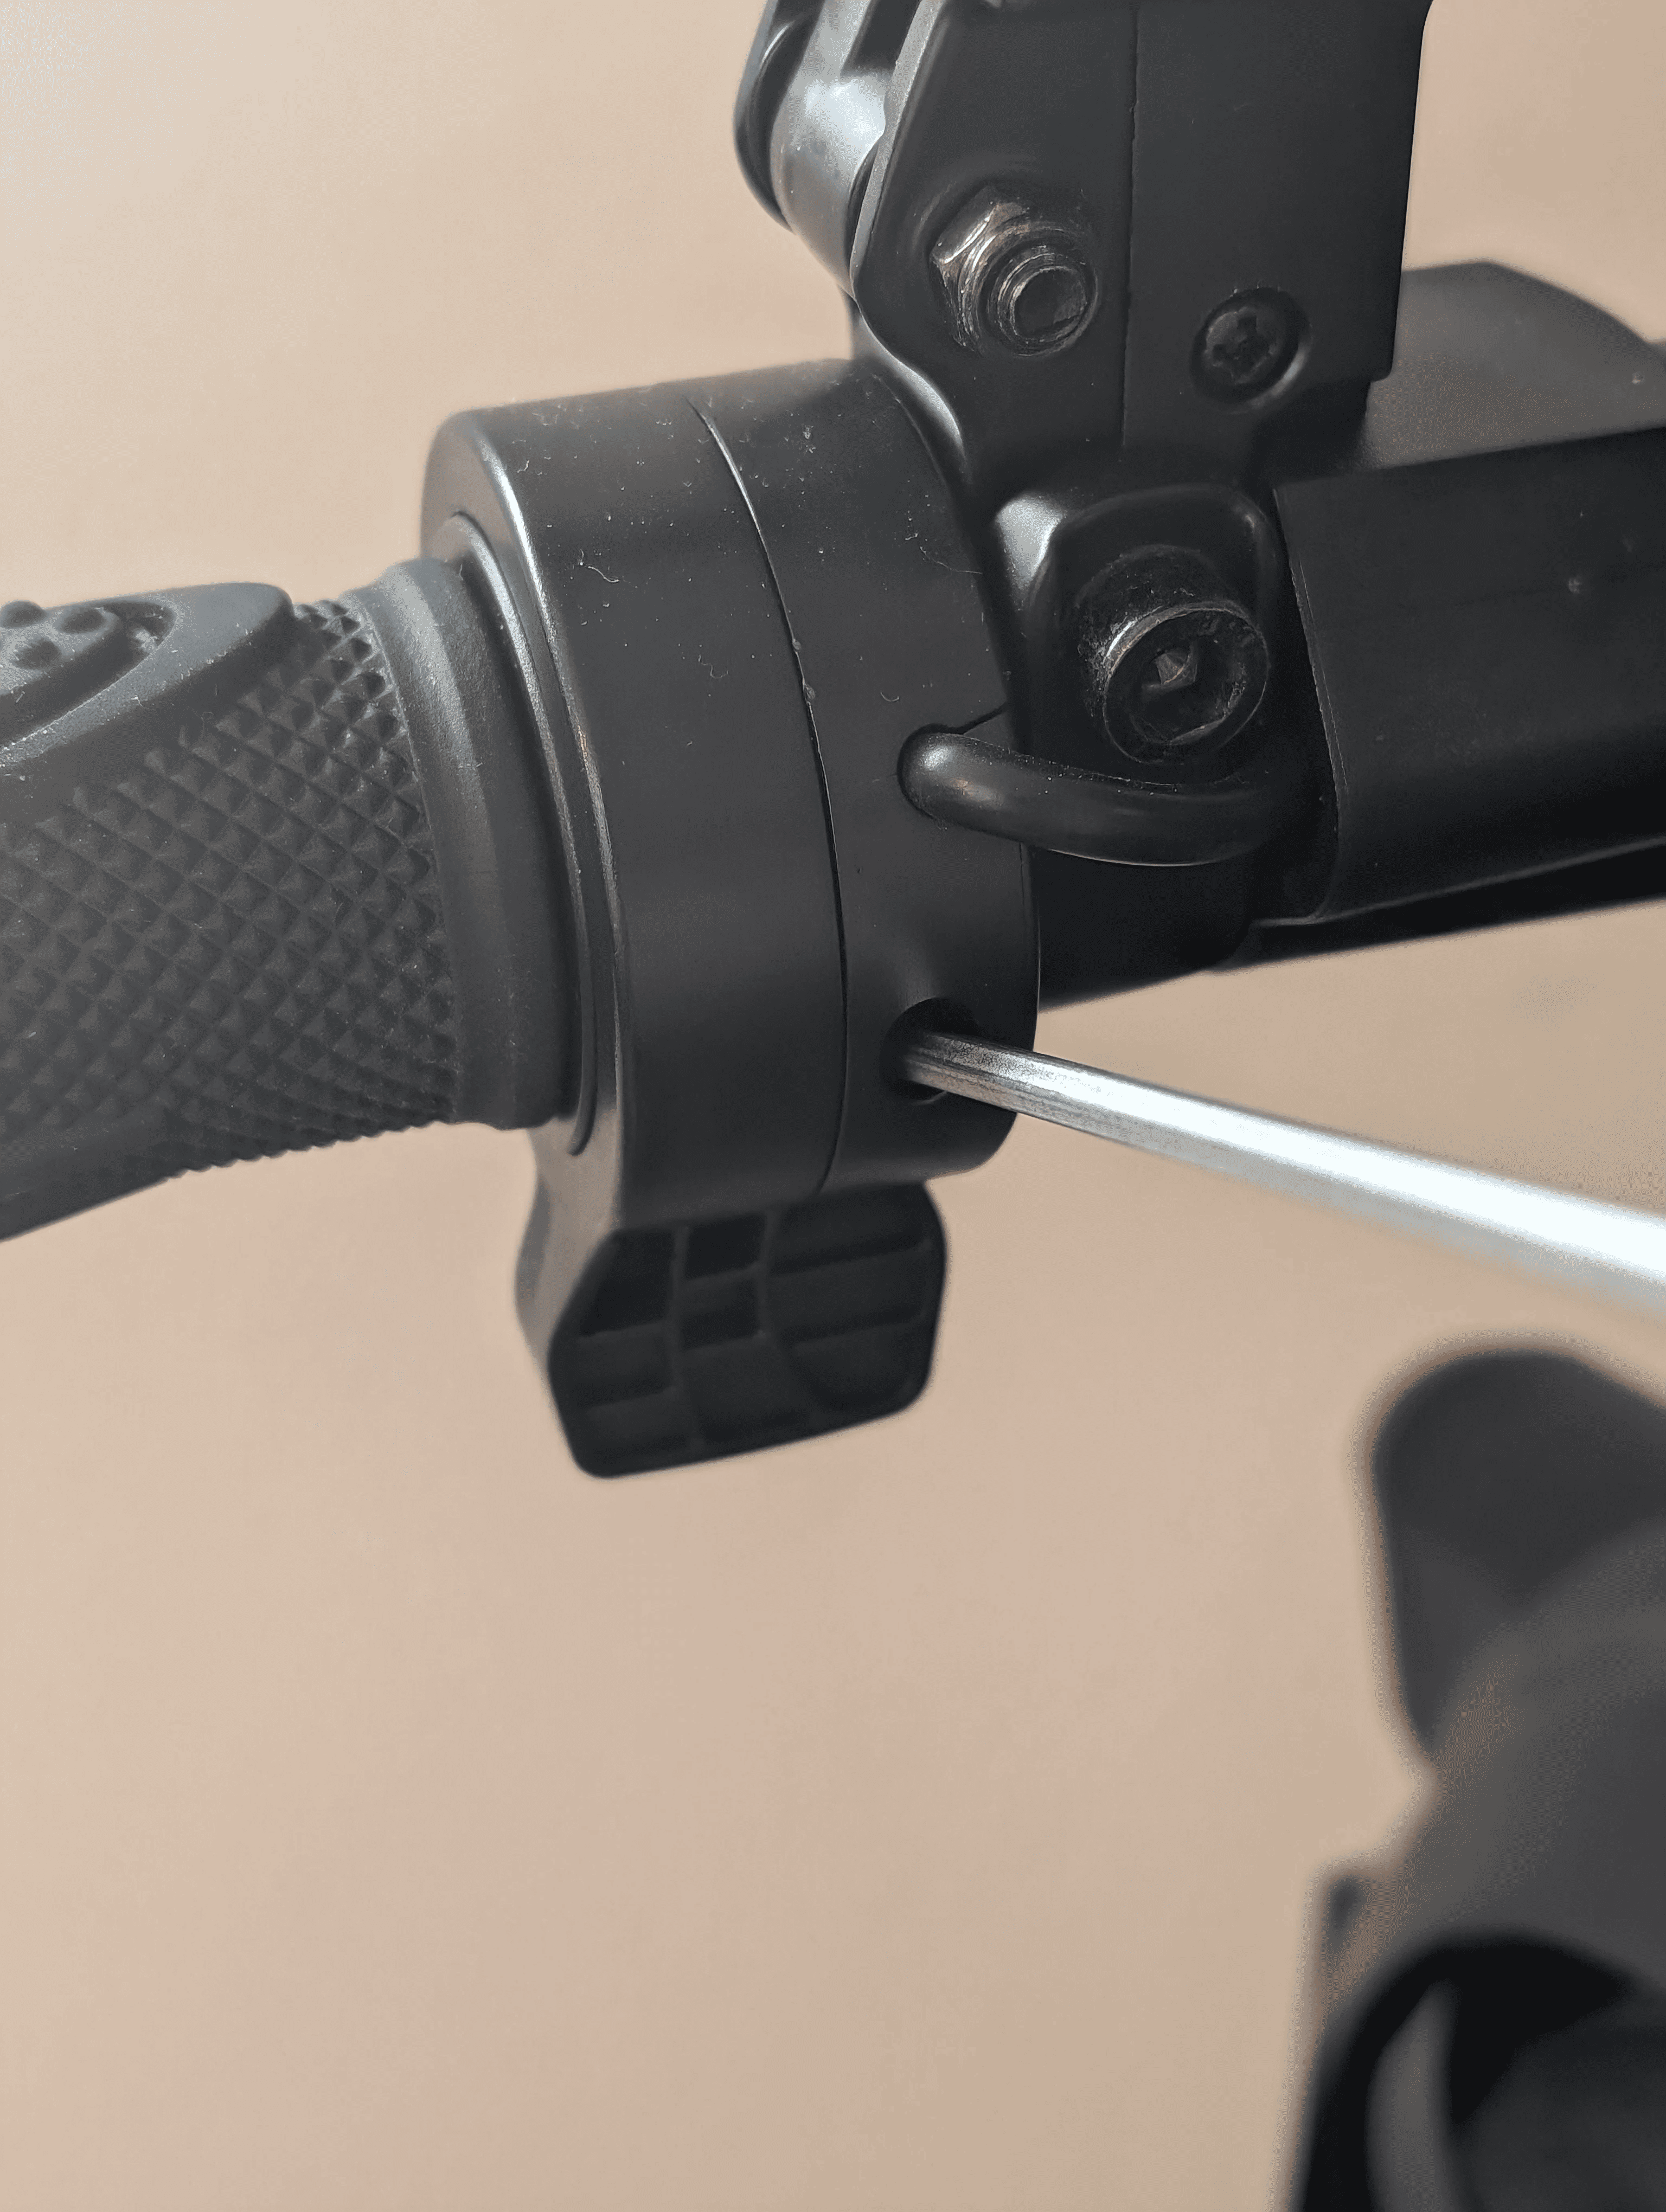
Fastening the brake levers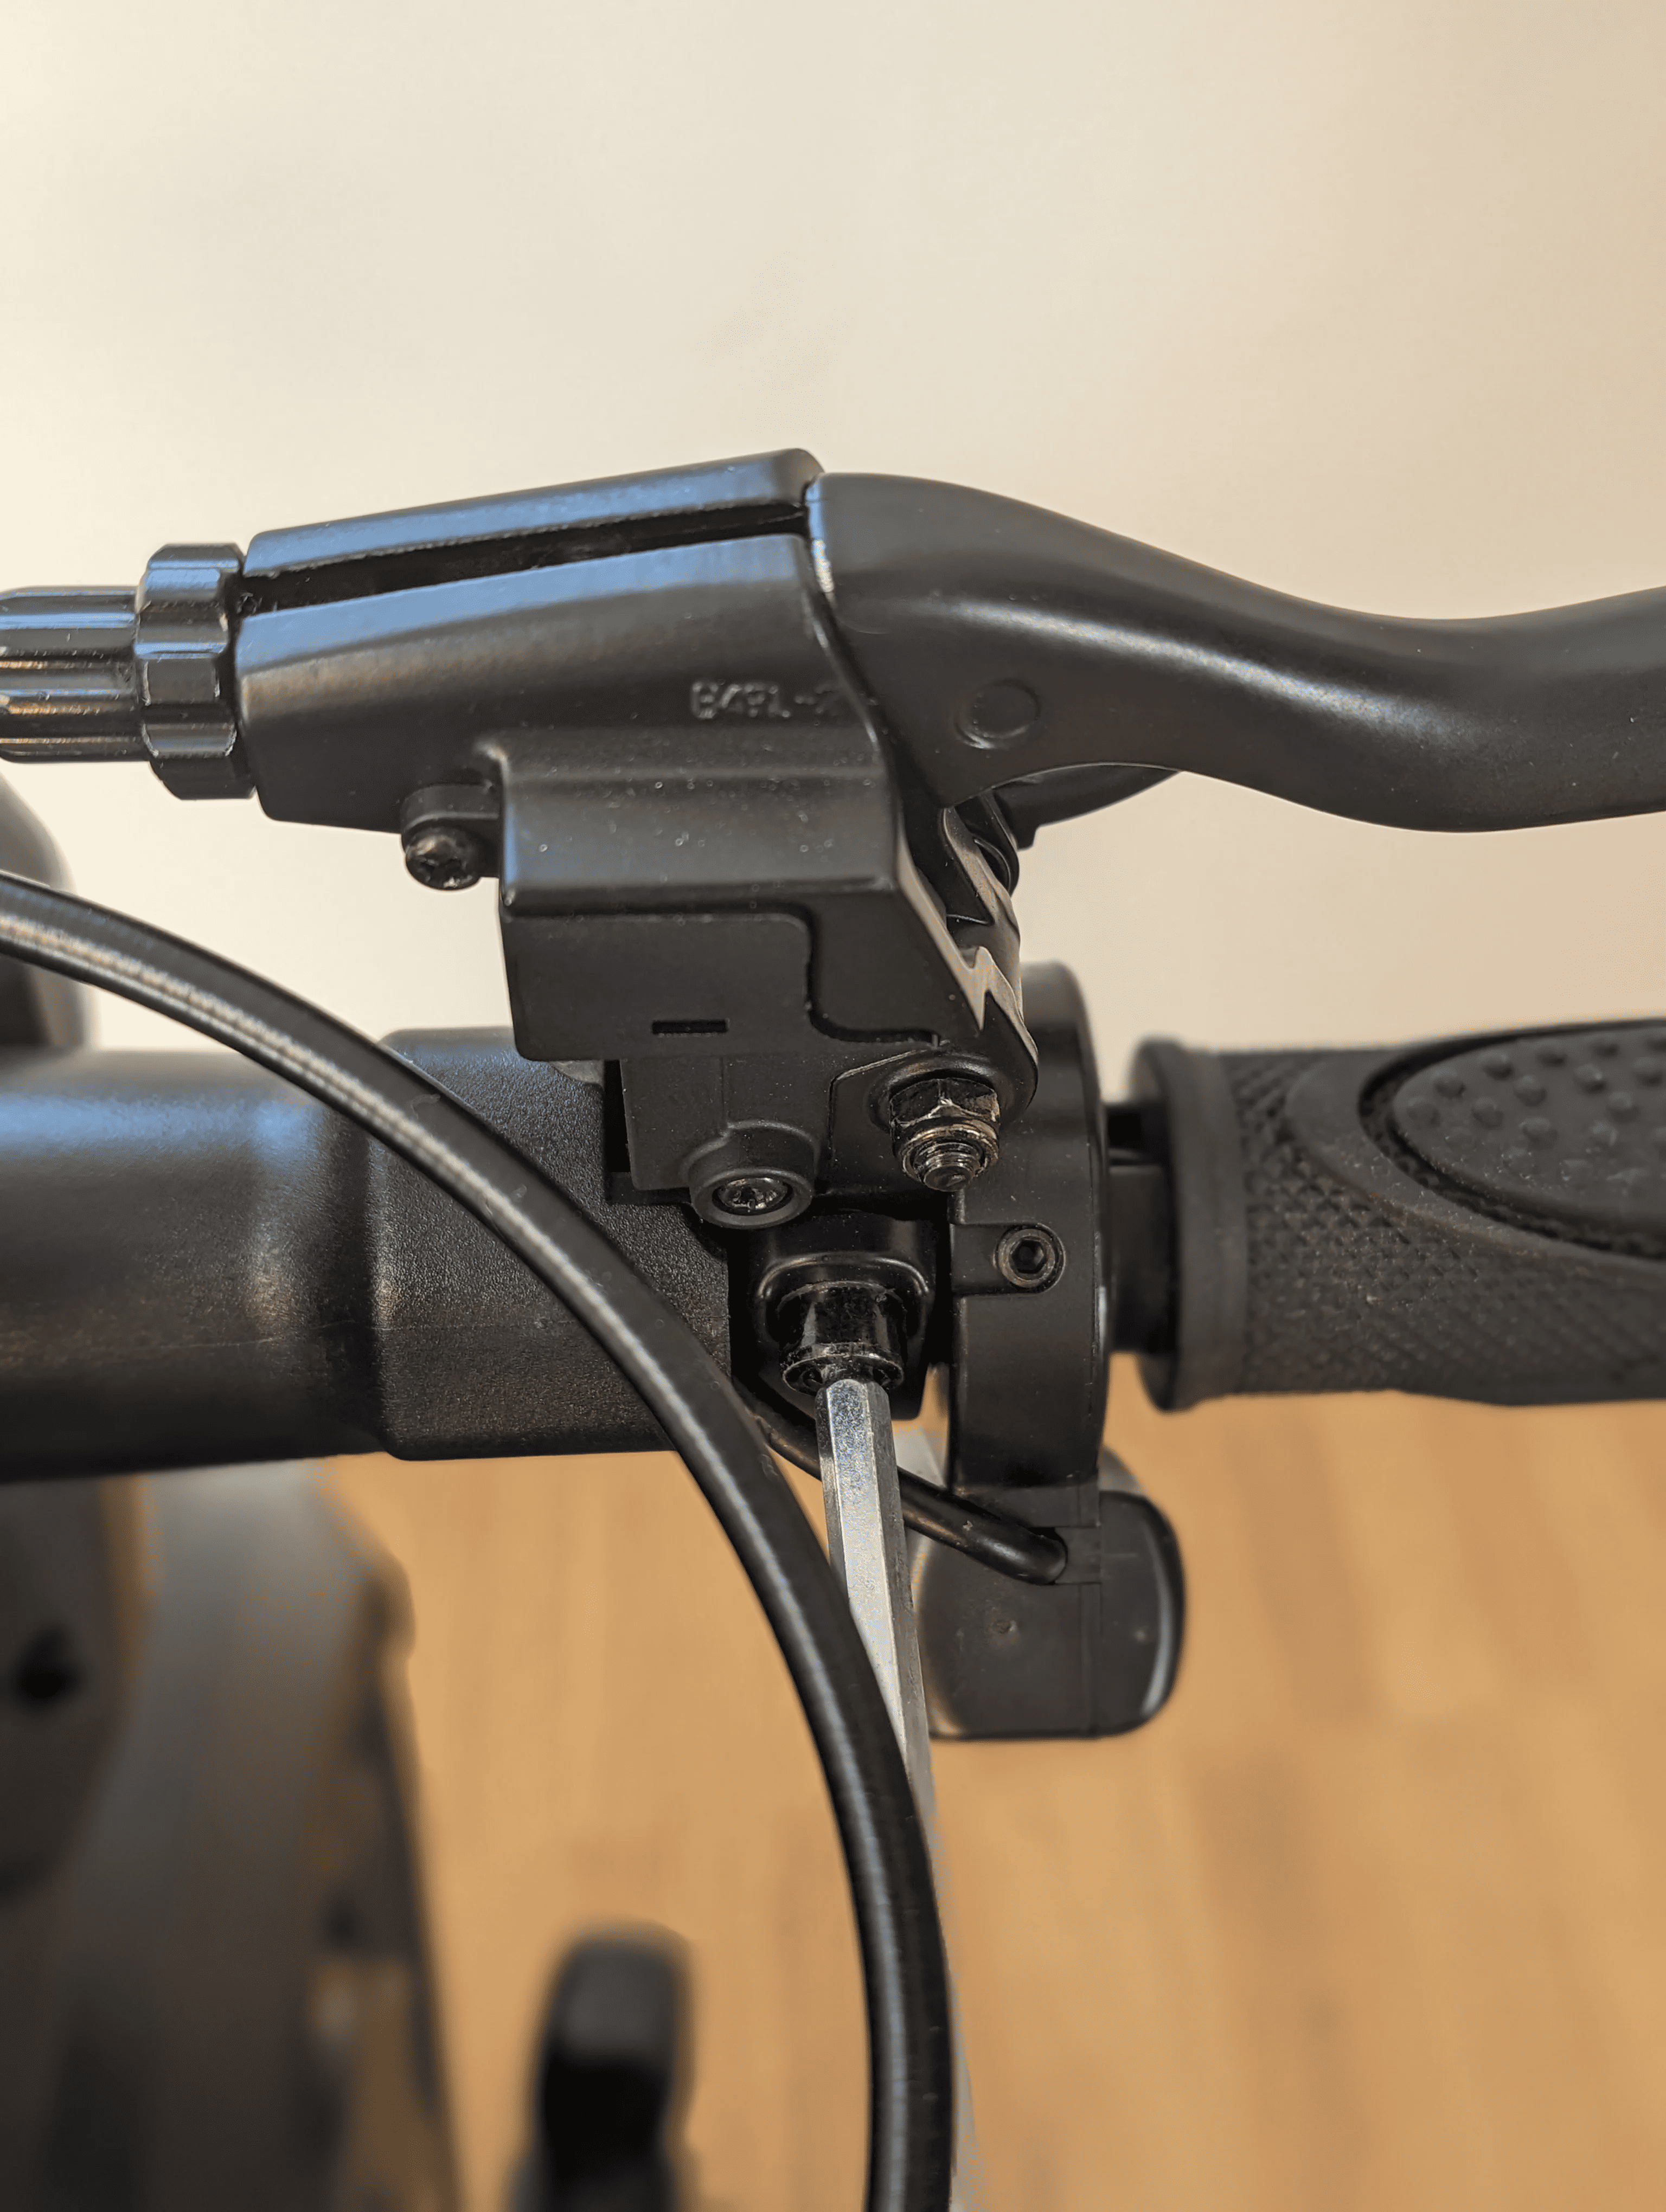
Mounting the indicator switch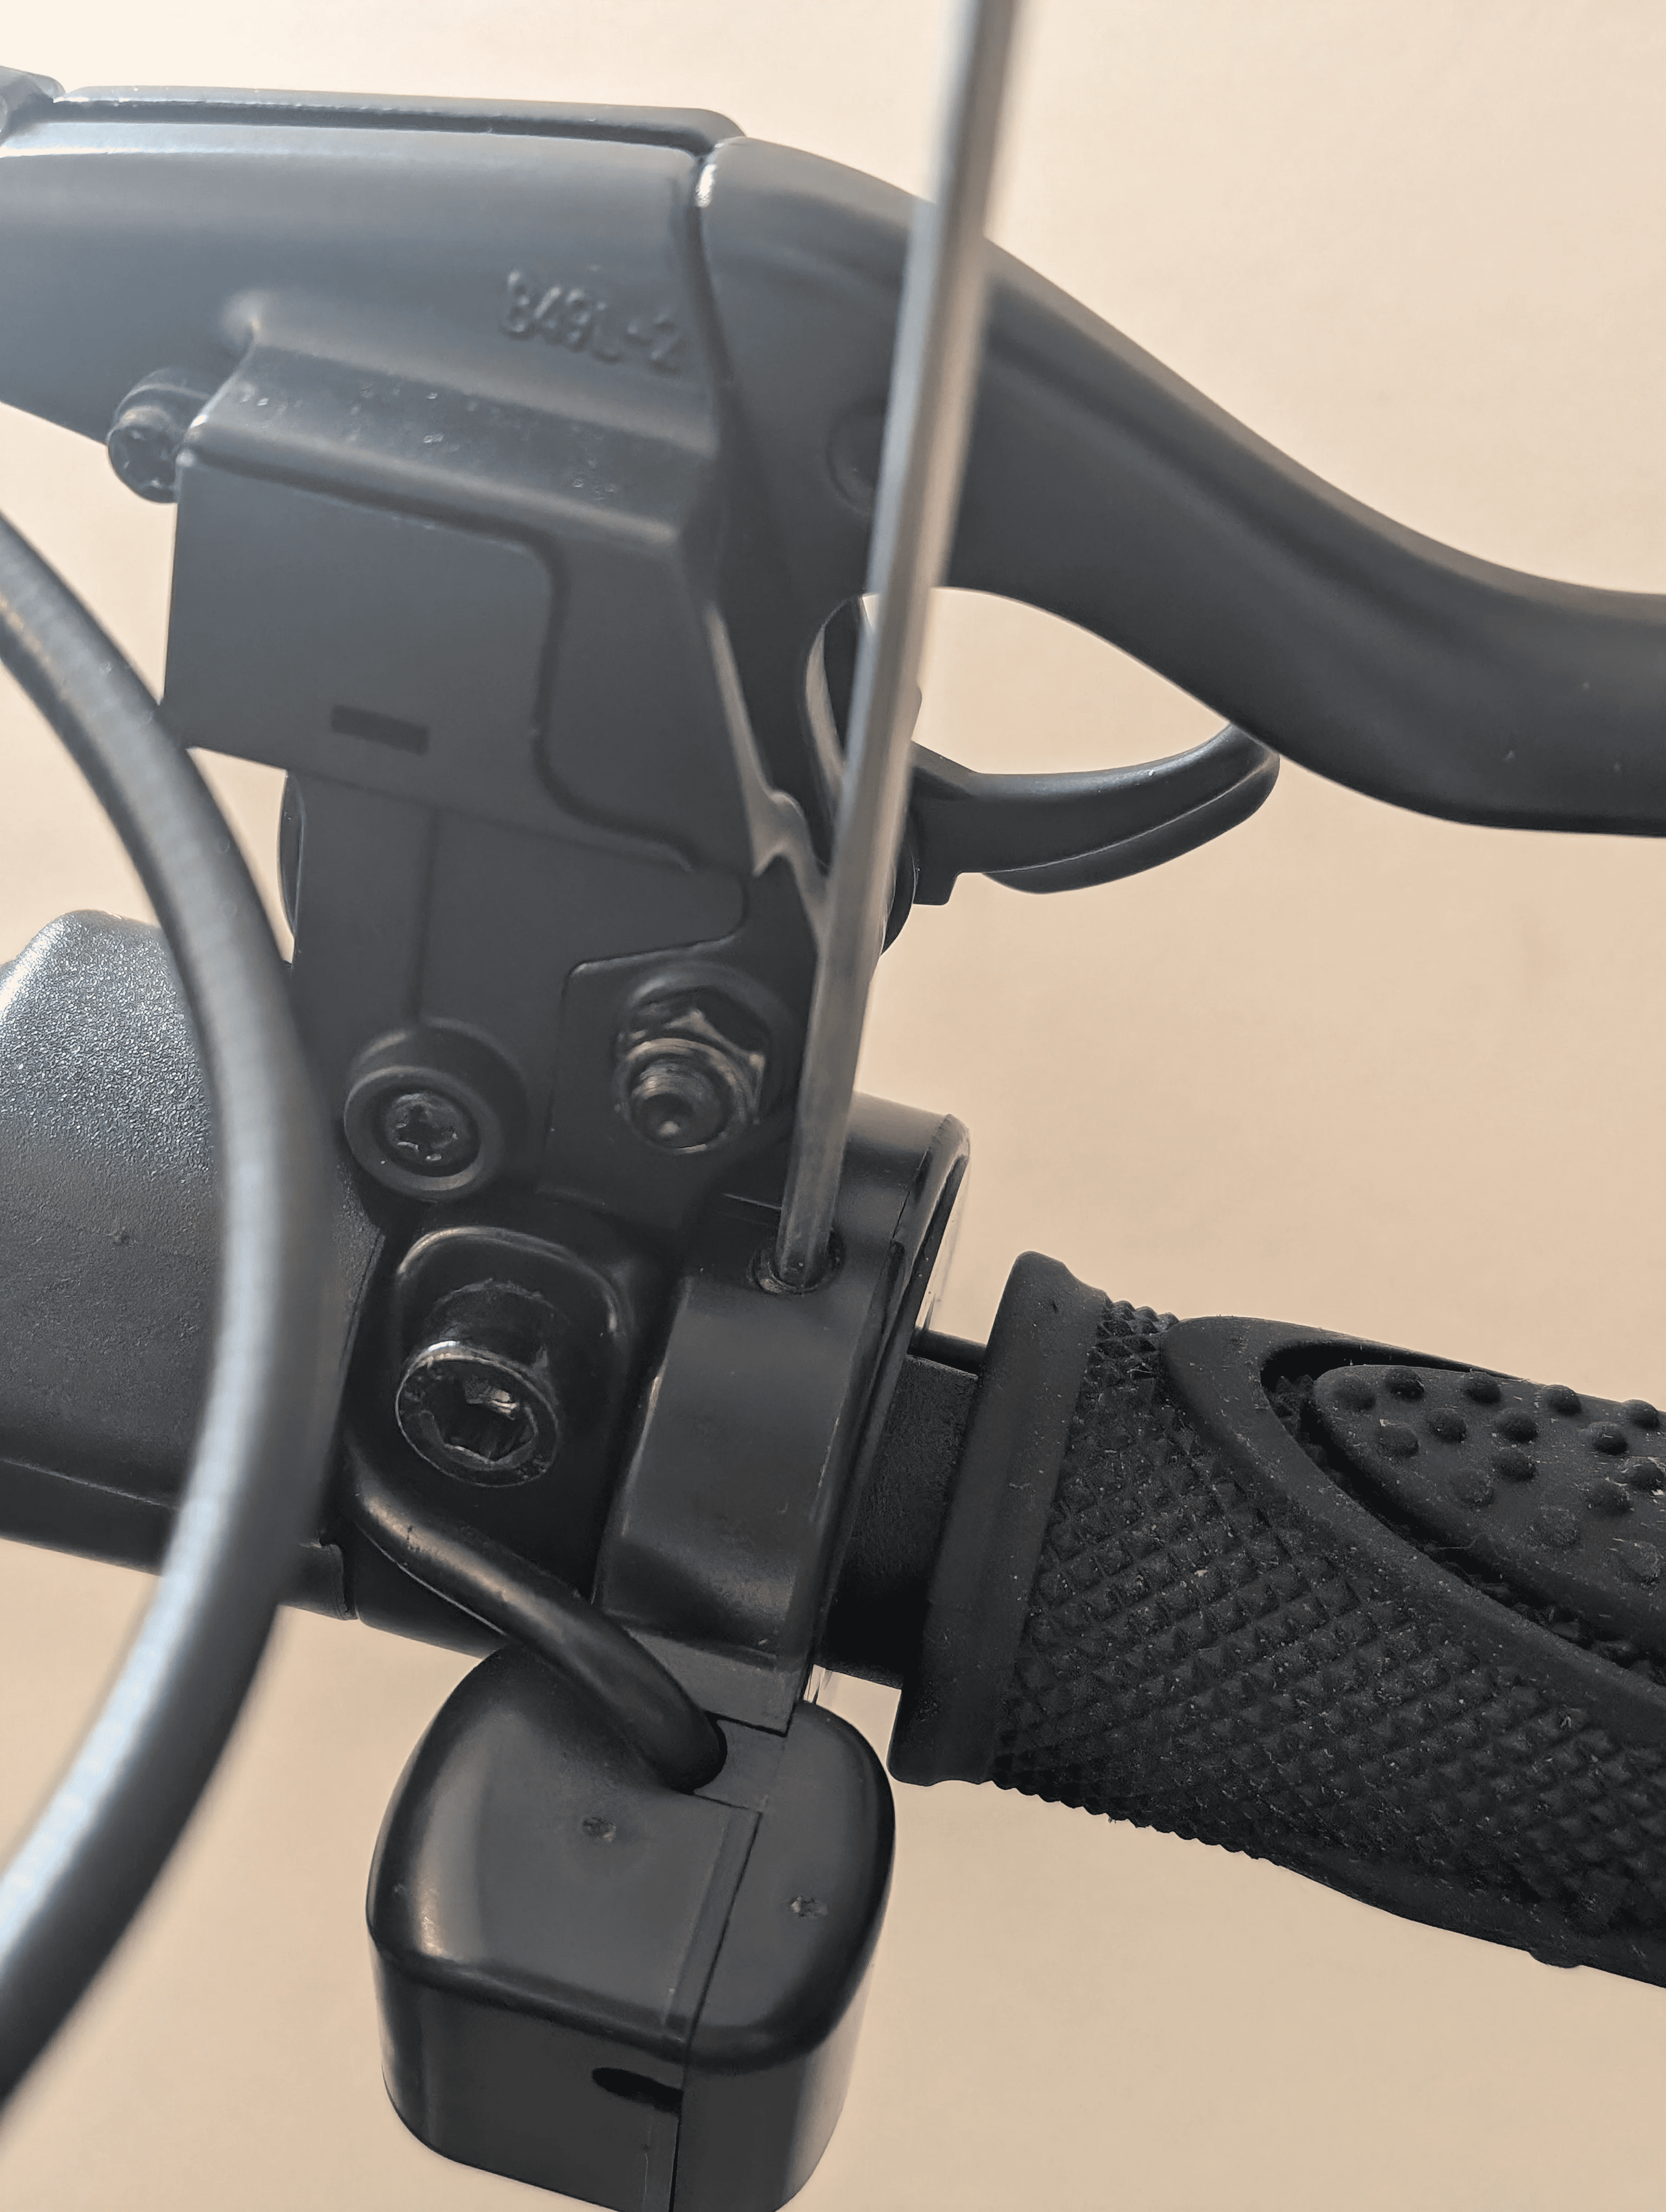 Then loosen the shrink tubing of the corresponding indicator and the elements you want to replace and pull these elements off the steering bridge.
Before you attach new elements, prepare the shrink tubing if necessary, and place it over the plug connections.
Then reattach all elements to the handlebar and insulate the plug connections. Now reattach the handlebar under the steering head and mount the front light cover and the light itself. Compare the cable with your replacement indicator. Cut open the shrink tubing and unplug your indicator. Tie a piece of thread to the plug to help pull it through the frame more easily later.
Now remove your engine cover on the corresponding side. To do this, first, pull the rubber plugs out of the cover and then loosen the screws with an Allen key.
Pull the cover and the indicator out of the scooter.
Loosen the thread immediately and temporarily leave it inside the scooter. Unscrew the old indicator. If the thread locker adhesive causes difficulty, heat it with a hot air dryer.
Once you have installed the new indicator, you can attach the thread to the plug of the new indicator and pull it forward through the frame.
Reassemble all elements on the back of the scooter. Before connecting the new indicator, slide shrink tubing over the cable. In the case of using insulating tape, remember it may reduce water resistance.
If the rubber mat on the maintenance hatch no longer stays in place, secure it with spray adhesive.